Introduction
SQL Operations Studio is a free, light-weight data management tool that runs on Windows, macOS, and Linux, for managing SQL Server, Azure SQL Database, and Azure SQL Data Warehouse;
Download and Install instruction for SQL Operations Studio Public Preview available here: Download SQL Operations Studio
Below is the feature list of SQL Operations Studio:
- Cross-Platform DB management for Windows, macOS and Linux with simple XCopy deployment
- SQL Server Connection Management with Connection Dialog, Server Groups, and Registered Servers
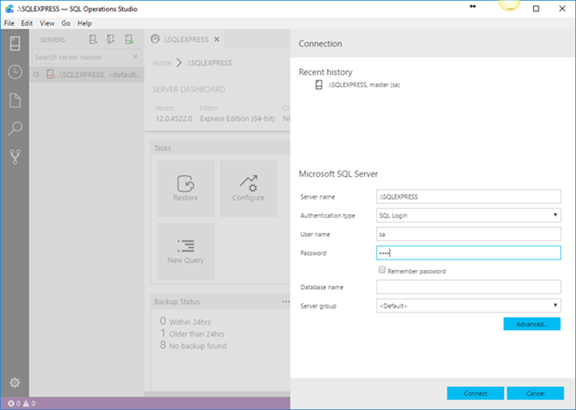
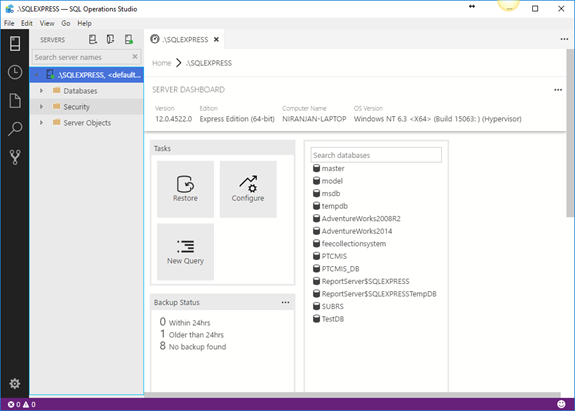
- Object Explorer supporting schema browsing and contextual command execution
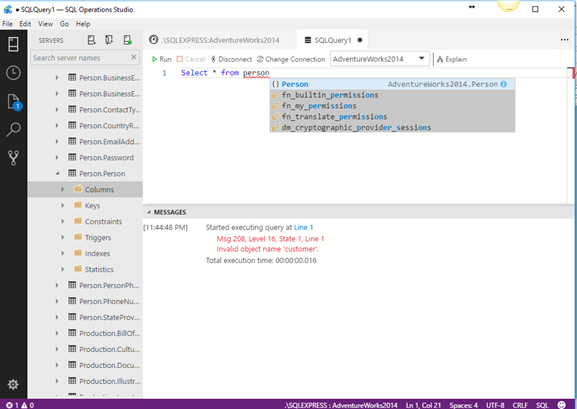
- T-SQL Query Editor with advanced coding features such as autosuggestions, error diagnostics, tooltips, formatting and peek definition.
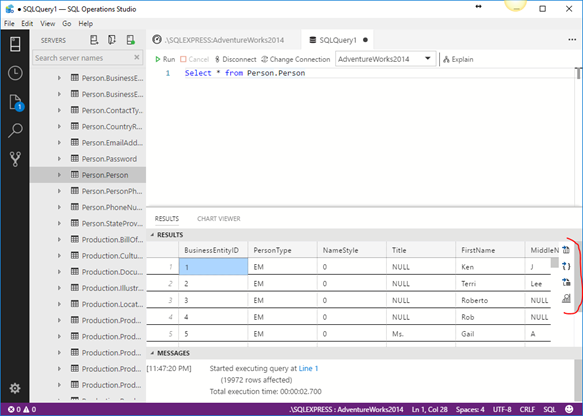
- Query Results Viewer with advanced data grid supporting large result sets, export to JSON\CSV\Excel, query plan and charting
- Management Dashboard supporting customizable widgets with drill-through actionable insights
- Visual Data Editor that enables direct row insertion, update and deletion into tables
- Backup and Restore dialogs that enables advanced customization and remote file system browsing, configured tasks can be executed or scripted
- Task History window to view current task execution status, completion results with error messages and task T-SQL scripting
- Scripting support to generate CREATE, SELECT and DROP statements for database objects
- Workspaces with full Git integration and Find In Files support to managing T-SQL script libraries
- Modern light-weight shell with theming, user settings, full screen support, integrated terminal and numerous other features
T-SQL code snippets
It also provides T-SQL code snippets which generate the proper T-SQL syntax to create databases, tables, views, stored procedures, users, logins, roles, etc., and to update existing database objects. To learn more, see Create and use code snippets.
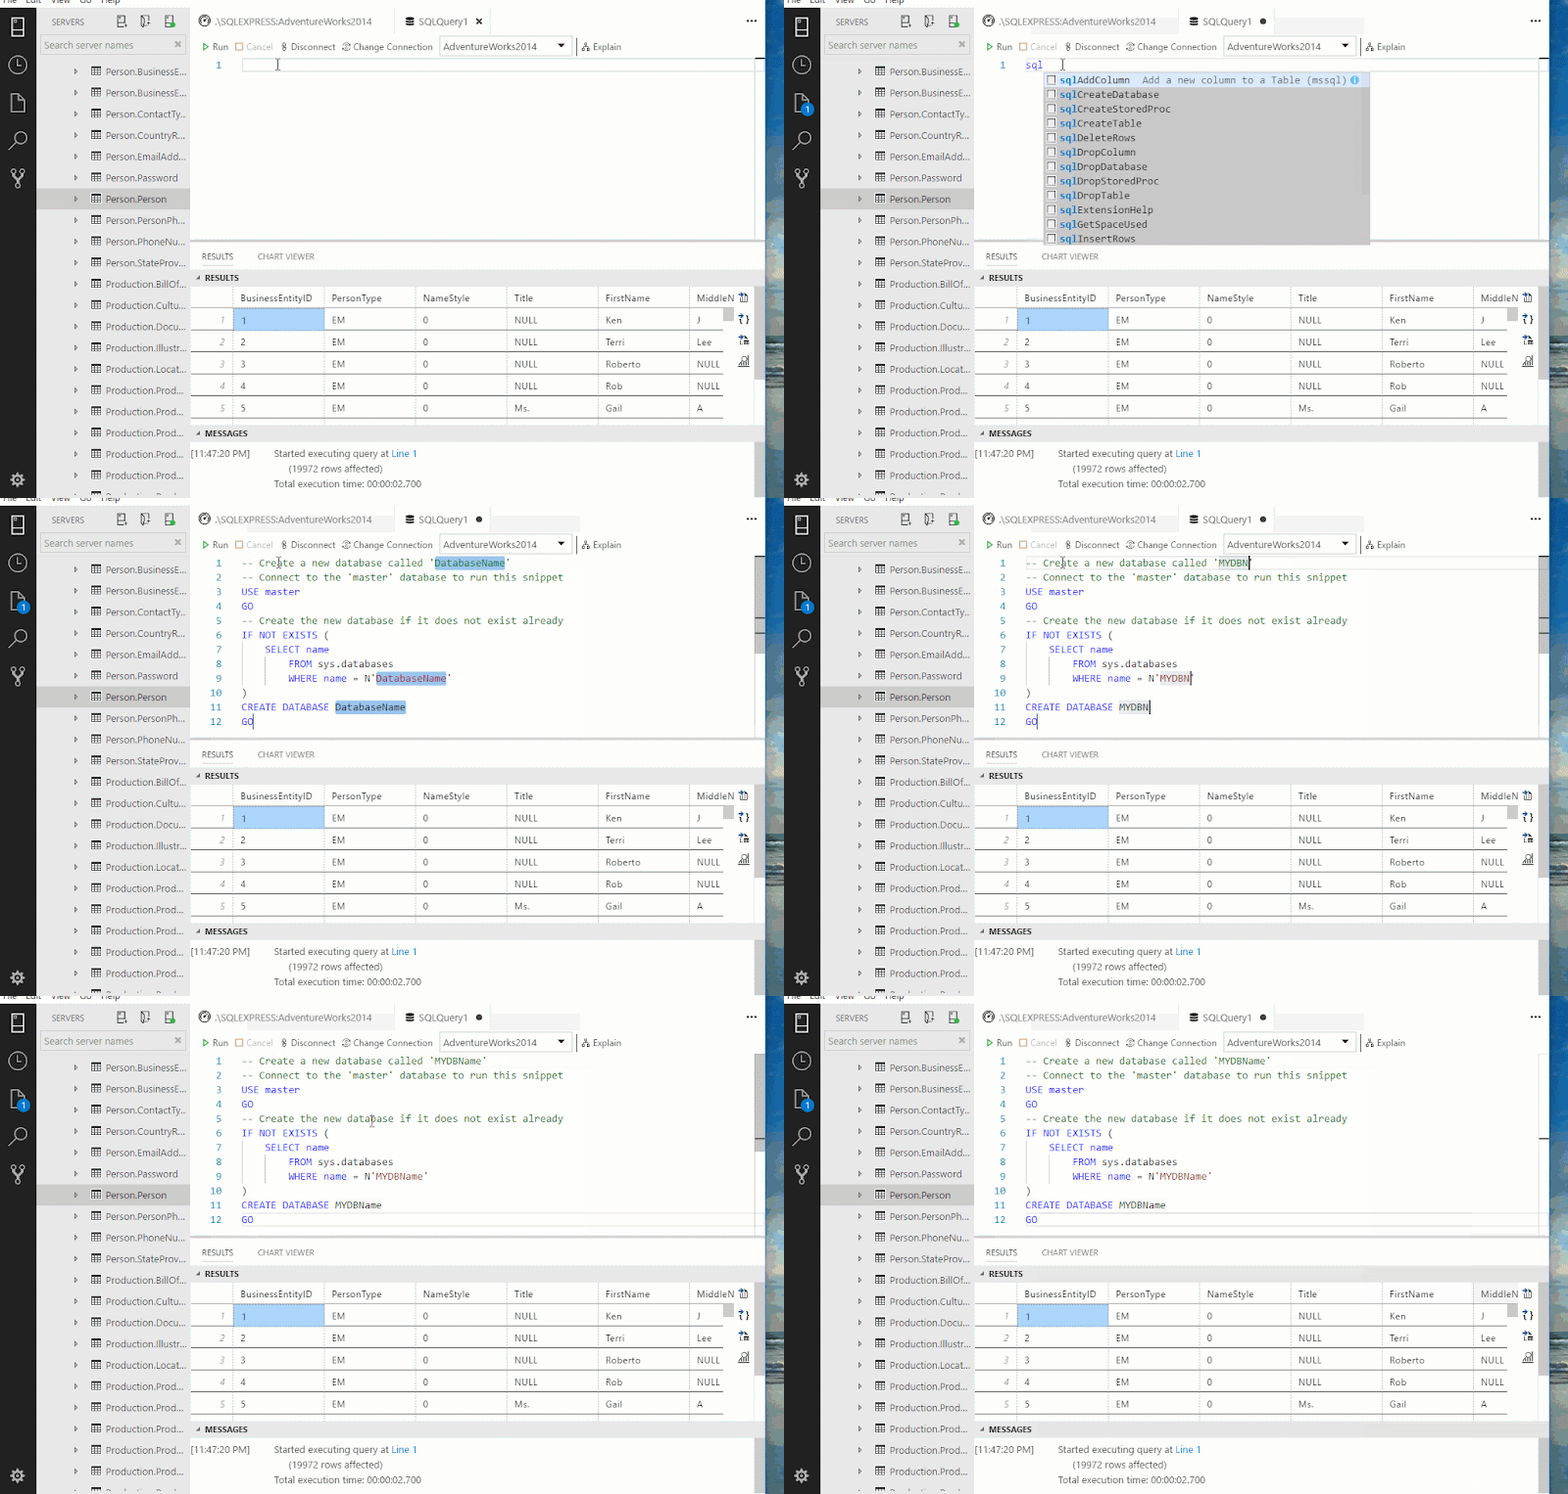
(T-SQL) IntelliSense
SQL Operations Studio offers a modern, keyboard-focused T-SQL coding experience like SQL Server Management Studio that makes your everyday tasks easier with built-in features, such as multiple tab windows, a rich T-SQL editor, IntelliSense, keyword completion, code snippets, code navigation, and source control integration (Git).
Connection management (server groups)
Server groups provide a way to organize and share connection information for the servers and databases you work with. For details, see Server groups.
Integrated Terminal
Use your favorite command-line tools (for example, Bash, PowerShell, sqlcmd, bcp, and ssh) in the Integrated Terminal window right within the SQL Operations Studio (preview) user interface. To learn about the integrated terminal, see Integrated terminal.
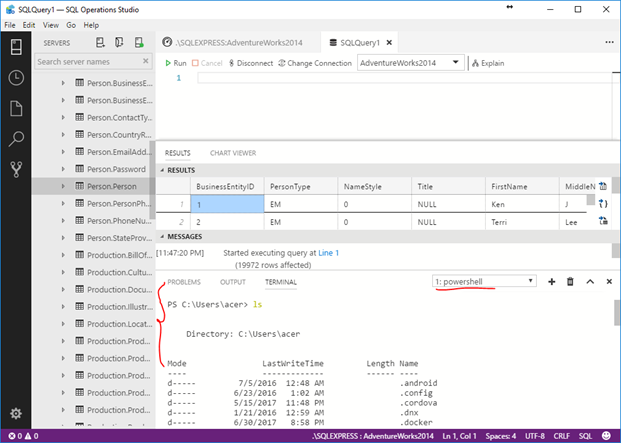
Information from MSOS documentation: Microsoft SQL Operations Studio
Conclusion
It is a nice lightweight cross platform tool for SQL Developers and DBAs. I found it very intuitive and easy to use for managing database. Nice step by Microsoft toward OSS and cross platform development using such good Electron based tool rather SQL Server 2017 is also cross platform